Apply Now
Smart Ways to Remove Acrylics at Home: Effective Tips for 2025
Removing acrylic nails at home can be a daunting task, especially if you want to avoid damaging your natural nails. With the right techniques and tools, however, you can safely and effectively take off acrylics while maintaining the health of your nails. In this article, we'll explore various methods to remove acrylic nails, focusing on safe and gentle techniques. Whether you’re looking to remove your nails for a fresh set or simply to take a break, we’ll guide you through the process step by step.
Let's delve into the world of DIY acrylic removal, exploring methods that prioritize safety and nail care. By the end of this piece, you'll be equipped with practical knowledge to care for your nails before, during, and after the removal process.
Understanding the Acrylic Nail Removal Process
Before we dive into the methods, it’s important to understand the acrylic nail removal process. The aim is to ensure that your nails remain intact and healthy during and after the removal. Acrylic nails are adhered to your natural nails using a strong adhesive; hence, improper removal can lead to damage such as thinning or breaking.
Step-by-Step Acrylic Removal
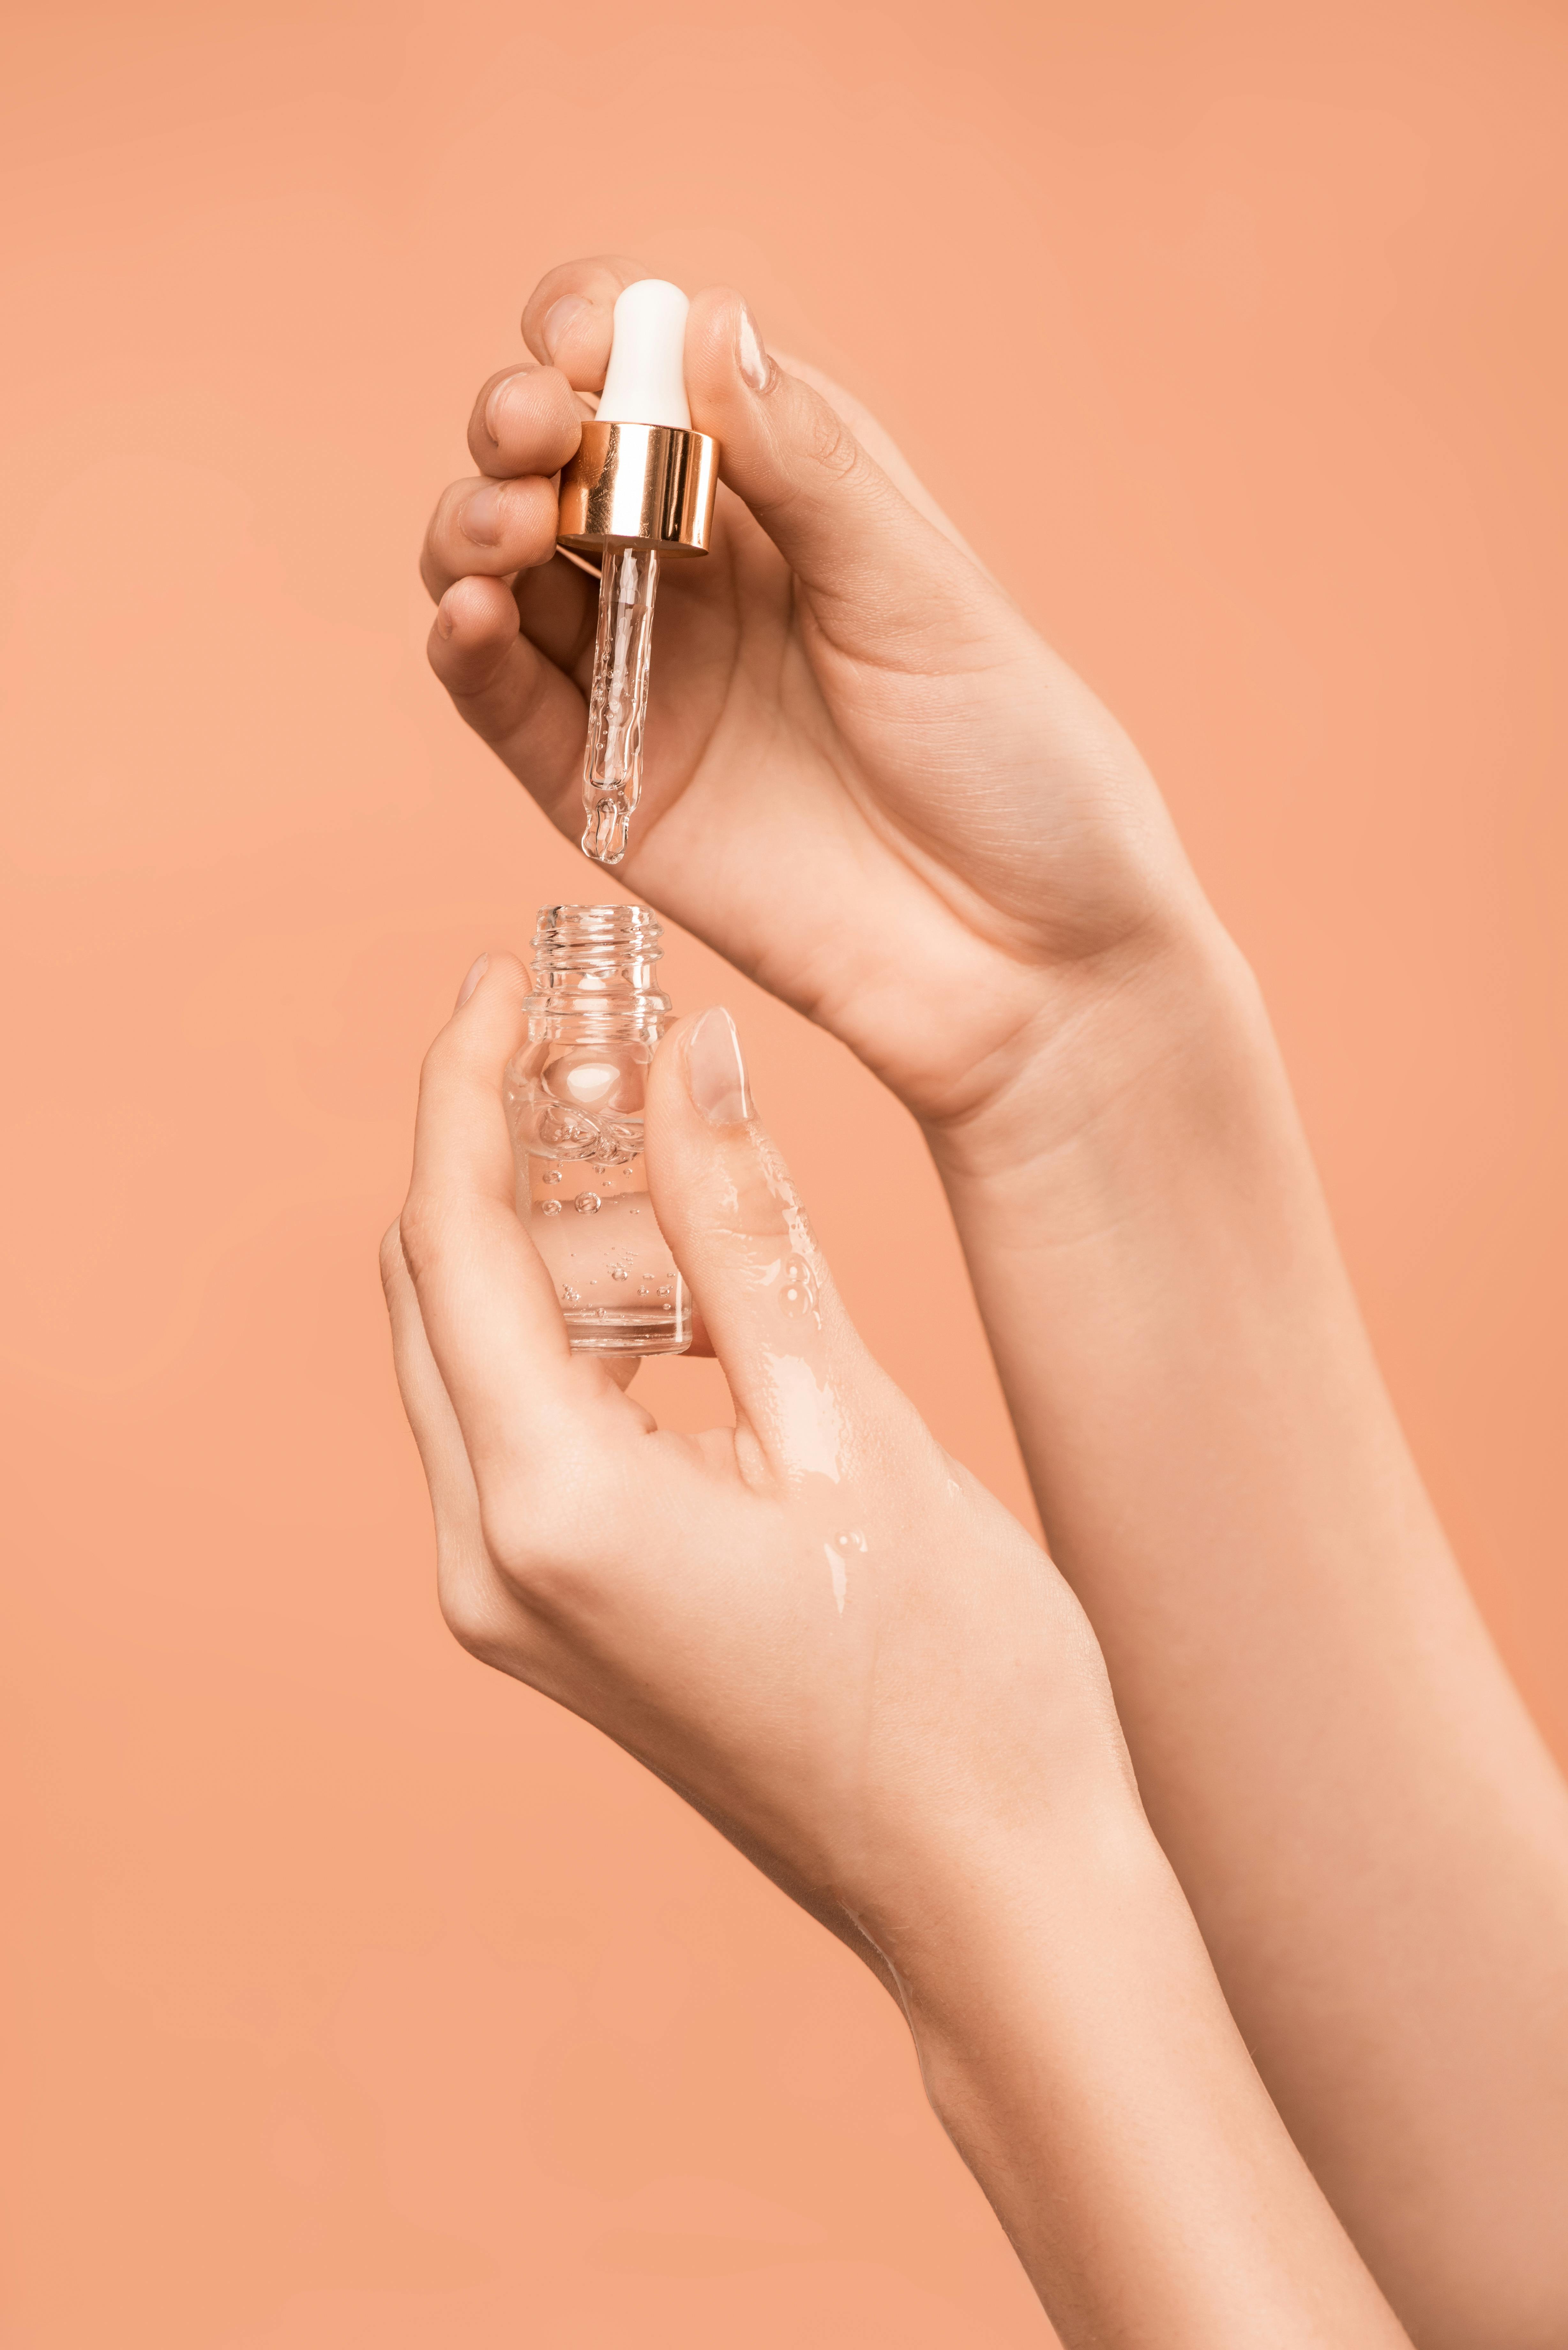
To begin, gather necessary supplies including a nail file, acetone or nail polish remover, cotton balls, and aluminum foil. First, gently file the surface of your acrylic nails to break the seal. This helps the acetone penetrate better. Next, soak the cotton balls in acetone, place them on your nails, and wrap them in aluminum foil. This creates a warm environment that accelerates the soak-off process. Leave them on for about 30 minutes to allow the acrylic to soften.
After this time, check one nail; if the acrylic starts to lift, gently push it off using a cuticle pusher. If it resists, rewrap it and wait a bit longer. This method minimizes the chances of damaging your natural nails.
Why Acetone Is Effective
Acetone is a common solvent known for its ability to dissolve acrylic products effectively. While it's the most effective method, using acetone requires caution. It's essential to use it responsibly to avoid drying out both your skin and nails. For those looking for a less harsh alternative, many brands now offer acetone-free solutions that can effectively remove acrylic nails, albeit at a slower rate.
Common Mistakes to Avoid
While removing acrylic nails at home, avoid these common pitfalls:
1. Rushing the process can lead to nail damage.
2. Using excessive force to scrape off the acrylic will weaken your natural nails.
3. Neglecting to moisturize your nails afterward can result in brittleness.
With these tips in mind, let’s explore some alternative methods for acrylic nail removal.
Alternative Methods for Acrylic Nail Removal
While the acetone method is popular, there are other effective techniques you can explore for gentle acrylic removal. These methods cater to those who may be sensitive to harsh chemicals or prefer a more natural approach.
Acrylic Nail Removal with Hot Water
Using hot water can be an effective alternative to acetone. Fill a bowl with warm water and soak your nails for about 15 minutes. After soaking, gently attempt to peel the acrylics away. The warmth helps to loosen the adhesive bond. This method may take longer than acetone but is gentler on your nails.
Natural Nail Soaks
For a more nourishing approach, consider natural nail soaks. Mixtures containing olive oil, coconut oil, or vitamin E can be beneficial. Soak your nails in warm oils to help break down the acrylic adhesive and keep your nails moisturized. This method may require patience, as it may take longer to remove the acrylics, but it's an excellent way to promote healthy nail care.
Choosing the Right Acrylic Removal Kit
Investing in a quality acrylic nail removal kit can simplify the process. Kits typically include everything you need for safe removal, such as gentle removers, buffers, and instructional guides. Look for kits labeled as “gentle” or “nourishing” to ensure they are less damaging to your natural nails.
Caring for Your Nails After Acrylic Removal
Once you’ve successfully removed your acrylic nails, caring for your natural nails is paramount.
Nourishing Nail Treatments
After acrylic removal, treat your nails to some TLC. Apply nourishing oils or treatments specifically designed for post-acrylic care. Essential oils such as jojoba or almond oil are wonderful for bringing moisture back into your nails. These treatments help strengthen and restore nail health which was potentially compromised during acrylic application.
Hydrating Your Nails
Hydration is key to maintaining healthy nails after removal. Regularly applying hand cream and cuticle oil can help in rehydrating and nourishing your nails. Incorporate a routine using oil or creams that provide long-lasting moisture to avoid brittleness and breakage.
Preventing Nail Damage in the Future
To prevent future nail damage, establish a healthy nail care routine. This includes regular moisturizing, avoiding overuse of acrylics, and allowing your nails to breathe. Education on how acrylics interact with nail health aids in making informed decisions for your nail care journey.
Best Practices for Acrylic Nail Maintenance
Maintaining your acrylic nails properly during wear will extend their look and safeguard against damage.
Regular Check-Ups with a Nail Technician
Regular visits to a professional nail technician can help catch any issues before they arise. They can provide tailored advice based on your individual nail health and maintenance needs. A quick evaluation can help identify any signs of lifting or damage that you might not notice.
Routine Maintenance Techniques
Implement a routine maintenance process including timely fills, proper shaping, and hydration for your nails. For those who frequently use acrylics, integrating periodic breaks into your schedule gives your natural nails time to recover and strengthen.
Cuticle Care and Moisturization
Taking care of your cuticles plays a significant role in nail health. Regularly pushing back cuticles and moisturizing can keep this area healthy, promoting growth and overall nail strength.
Q&A Section: Common Questions About Acrylic Removal
How often should I remove my acrylic nails?
It’s recommended to take breaks between applications of acrylics to give your natural nails time to recover. Allow at least a couple of weeks of downtime.
Are there any risks involved in DIY acrylic removal?
Yes, if not done carefully, you can risk damaging your natural nails. Always follow safe practices, whether using acetone or alternative methods.
What should I do if I feel pain during removal?
If you experience pain, stop immediately and consult a nail care professional. Pain can be a sign of improper removal or damage underneath.
Conclusion: Embrace Healthy Nail Care
Mastering the art of removing acrylic nails at home is achievable with the right techniques and tools. Prioritize safety and nail care through gentle methods and nurturing post-removal practices. By understanding your options, you can enjoy the beauty of acrylic nails without sacrificing the health of your natural nails. Remember that prevention and regular maintenance are key to enjoying beautiful, healthy nails.